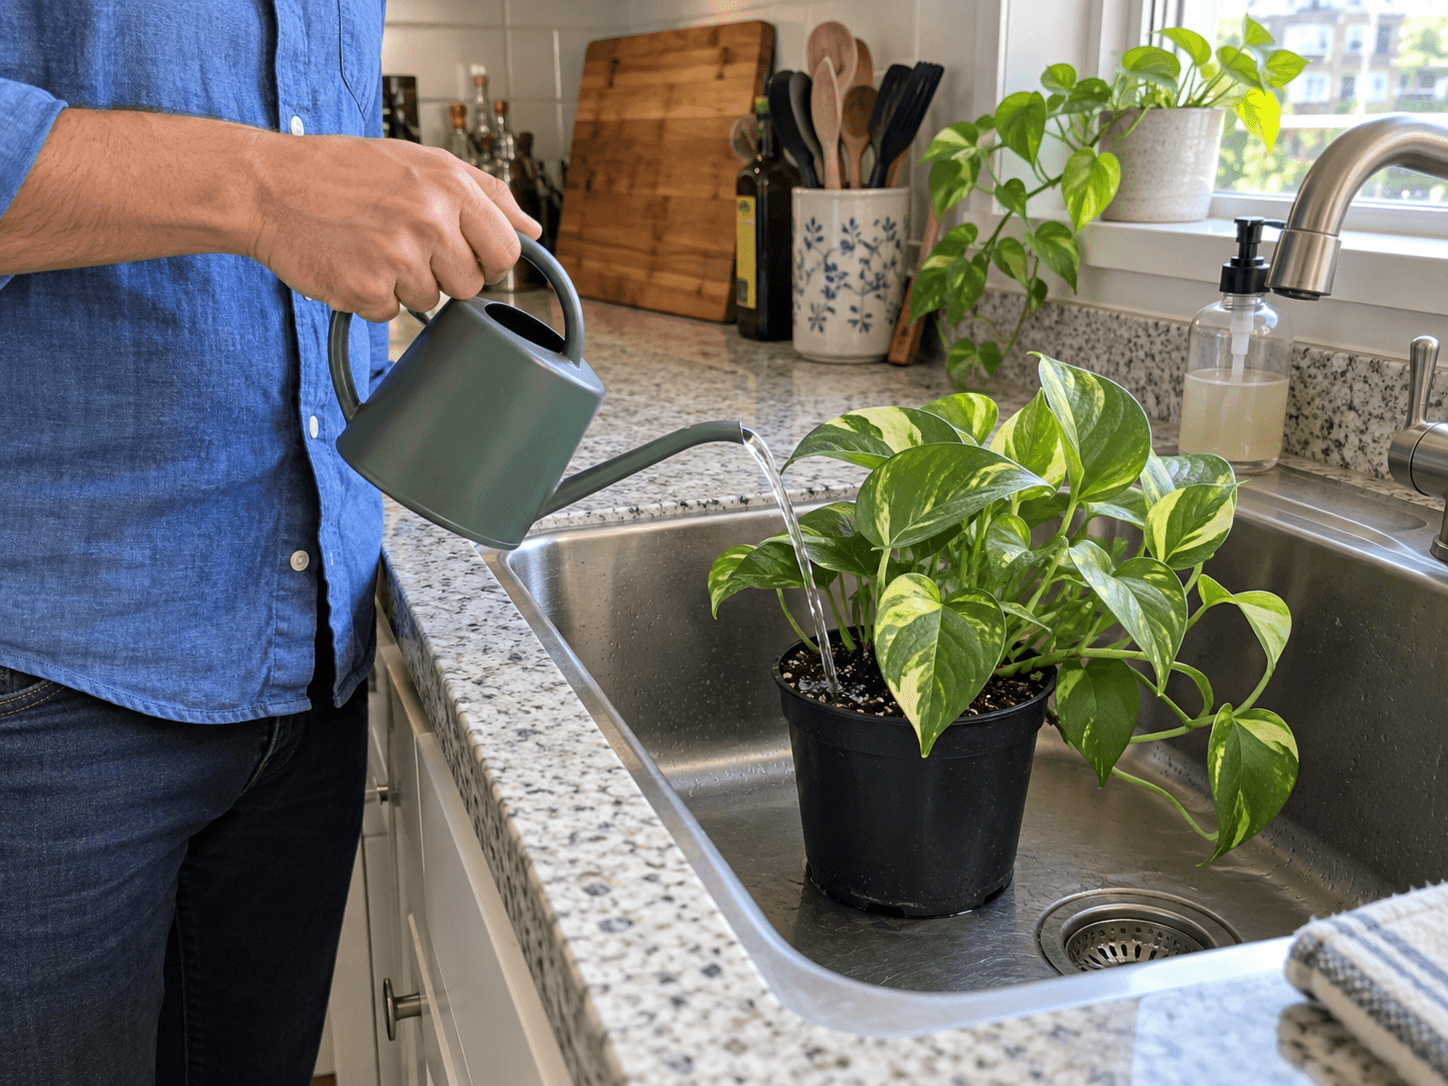
Give the new arrival some space
Set up an observation spot, check the pot and learn what arrived before rearranging the whole collection.
The short answer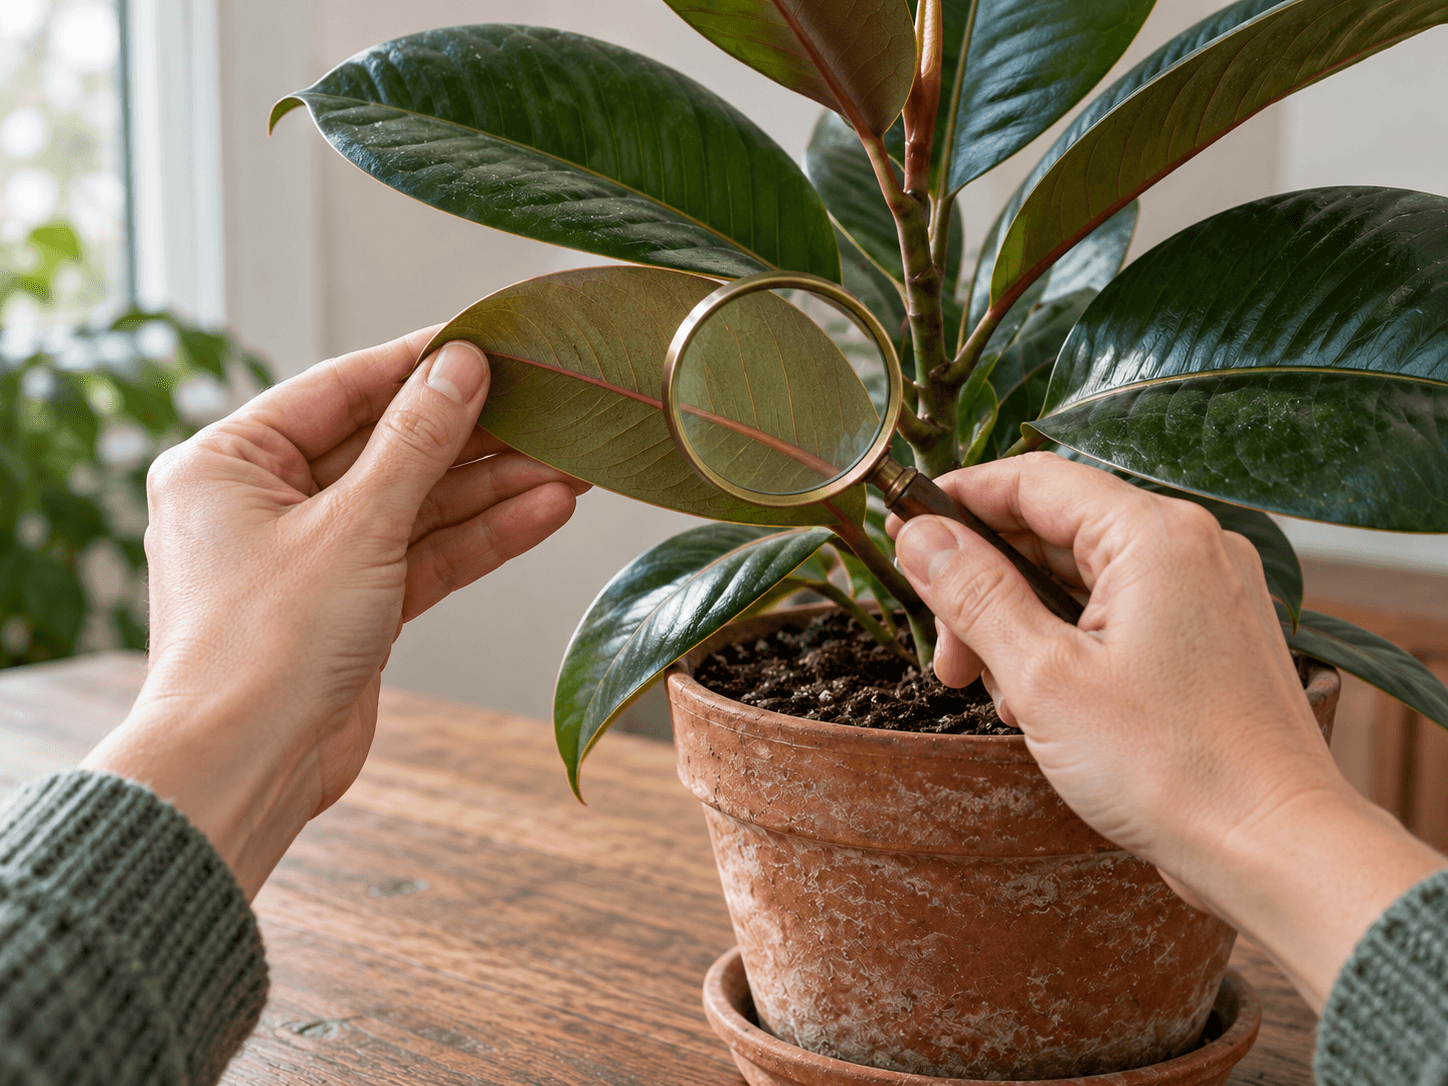
Start with what is there
- Save the botanical label and take a whole-plant photograph before trimming anything. Note existing marks so they are not mistaken for new damage later.
- Look beneath leaves, at new growth and in leaf joints. Use a hand lens for small moving specks; check webbing, cottony material and sticky residue rather than assuming every pale mark is an insect.
- Remove decorative wrapping and lift the inner pot from its cover. Check the rim, base and drainage openings, then empty any trapped water.
- Check the medium and pot weight. Record what you find before deciding whether it needs water, root inspection or simply a suitable place to settle.
An observation spot still needs light
Separation is less useful if it means putting the plant in an unsuitable dark cupboard. Find a bright place appropriate to the species, with enough distance to prevent leaves touching. Use separate water for any rinsing or soaking, and clean tools between plants. Inspect nearby plants if contact has already occurred.
Do the necessary job
Water according to the actual medium. Repot promptly if a serious root or drainage problem requires it, but avoid routine repotting simply to make a nursery pot disappear. Light, transport and indoor humidity have already changed. Keeping the other variables steady makes subsequent leaf changes easier to understand.
| What you find | What to do next |
|---|---|
| Insects, webbing or unexplained sticky deposits | Keep the plant separate and identify the cause before treatment. Photograph the detail and use the relevant pest guide; do not spray the entire collection on suspicion. |
| Wilt with very wet mix or water in the cover pot | Drain the cover and check the roots if deterioration is suspected. More water is not the automatic response to wilt. |
| A healthy plant in a draining nursery pot | Keep the useful pot, choose appropriate light and learn its moisture cycle. A decorative change can wait. |
Inspect more than once
Repeat the inspection over several weeks, including new growth and hidden leaf joints. An apparently clean first day does not rule out eggs or small pests. Keep a short note of anything you find and any action taken. When the plant joins the collection, retain that habit; separation reduces risk but cannot replace continued observation.
Find a related guide below.
Back to the beginningSources & notes
Care guidance checked against these horticultural references on 20 October 2026.
- University of Minnesota Extension: Managing insects on indoor plantsInspection, isolation, pest signs and integrated management.
- Oregon State University Extension: Safe plant propagation and salesUse healthy propagation material and clean containers; inspect before sharing.
- Royal Horticultural Society: Growing houseplantsIndoor conditions, seasonal care, humidity and holiday planning.