Repot for a reason
Check whether a plant really needs repotting, choose a modest new pot and follow a careful sequence that preserves healthy roots.
The short answer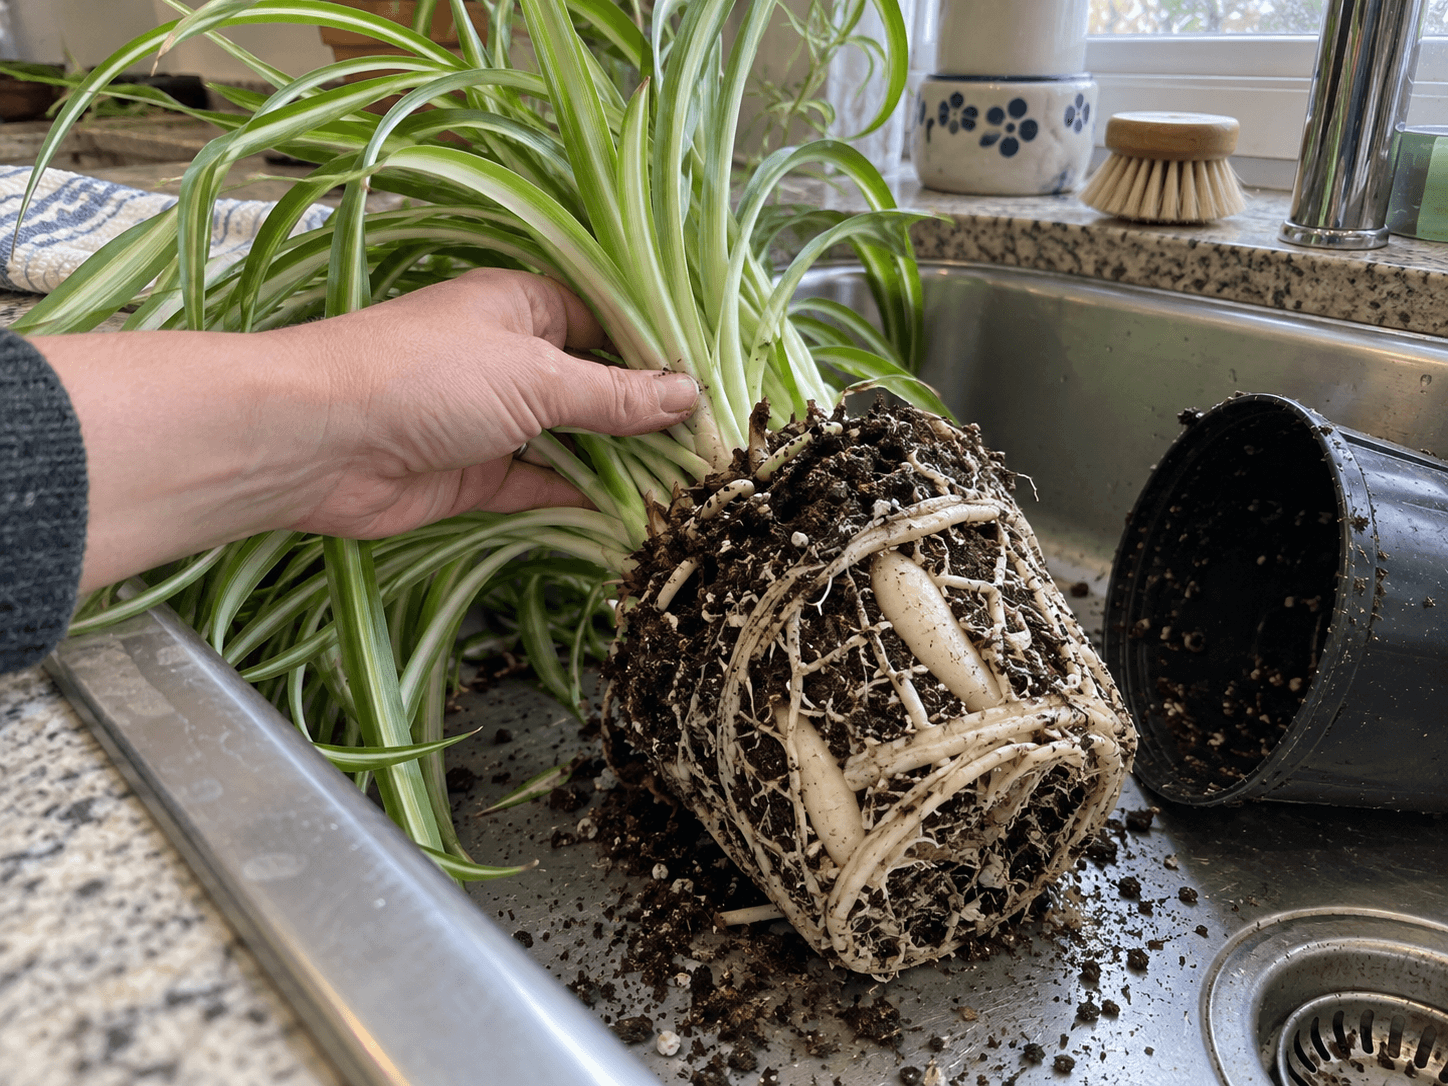
Check what has actually changed
A plant may need attention when the root ball fills the pot, the mix has degraded or water management has become difficult. If it dries immediately after a thorough watering, inspect for a dense mass of roots or water bypassing a dry core. If it stays wet, inspect drainage and conditions before assuming a larger pot will help.
Spring or active growth is often a convenient time for routine repotting. A serious root problem may require attention sooner. Separate those two jobs: moving a healthy crowded plant is different from rescuing damaged roots.
Set out the whole job first
- For a healthy root ball that fills its old pot, start with the next container size up. Compare the inside dimensions with the actual roots; a much deeper pot can add unwanted wet space even if its rim is only slightly wider.
- Prepare a suitable mix and a surface where spilled soil is easy to collect.
- Have clean snips, a saucer and water ready. Support or tie a large plant before lifting it.
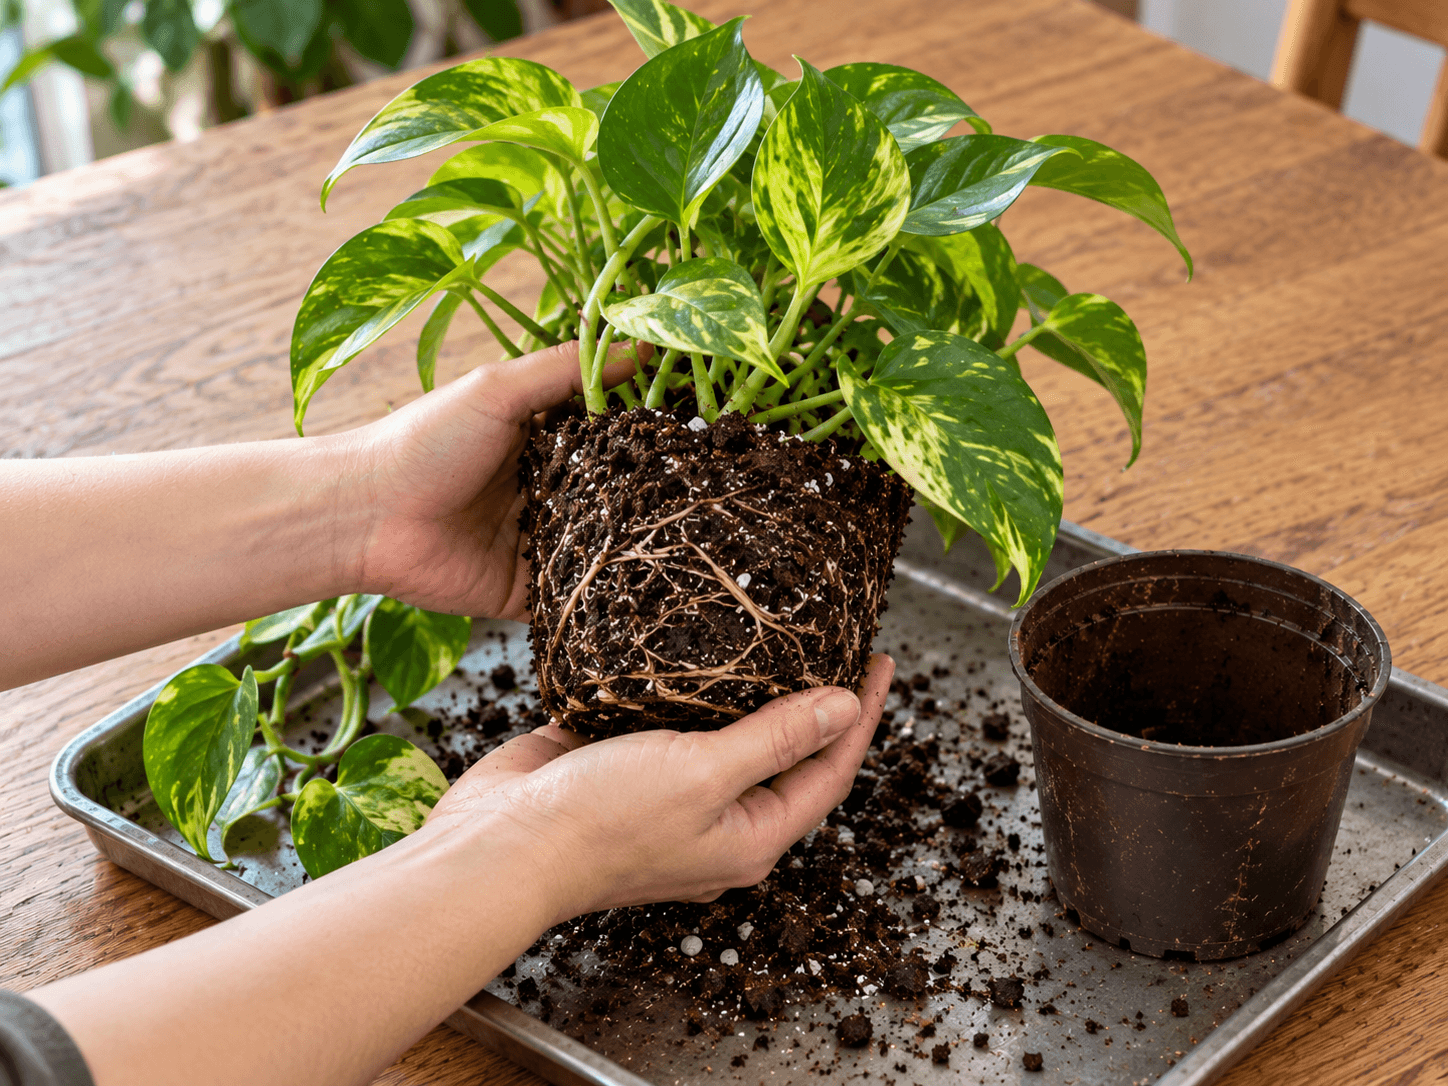
- Remove the plant gently, supporting the root ball rather than pulling on leaves.
If a flexible nursery pot grips the roots, ease its sides and work patiently. A heavy or awkward plant is a two-person job. The goal is to see the roots clearly without breaking stems or dropping the container.
If the job is replacing degraded mix and the roots are not crowded, a clean pot of the same size may be enough. If damaged roots have been removed, size the container to what remains rather than automatically moving up. Check drainage holes before setting the plant into any of these pots.
Inspect before filling
Look for firm healthy roots, circling roots and soft decayed sections. Root colour varies by species, so do not remove a root only because it is not white. Loosen accessible circling outer roots gently where appropriate. If extensive decay is present, pause and assess whether a viable healthy section remains.
Set the root ball at the appropriate original depth, leaving watering space below the rim. Fill around it with mix, settling it gently without packing it hard. Do not add a gravel layer as a drainage fix.
A saucer protects the surface. Empty it after watering; roots should not sit in runoff.
Learn the new pot
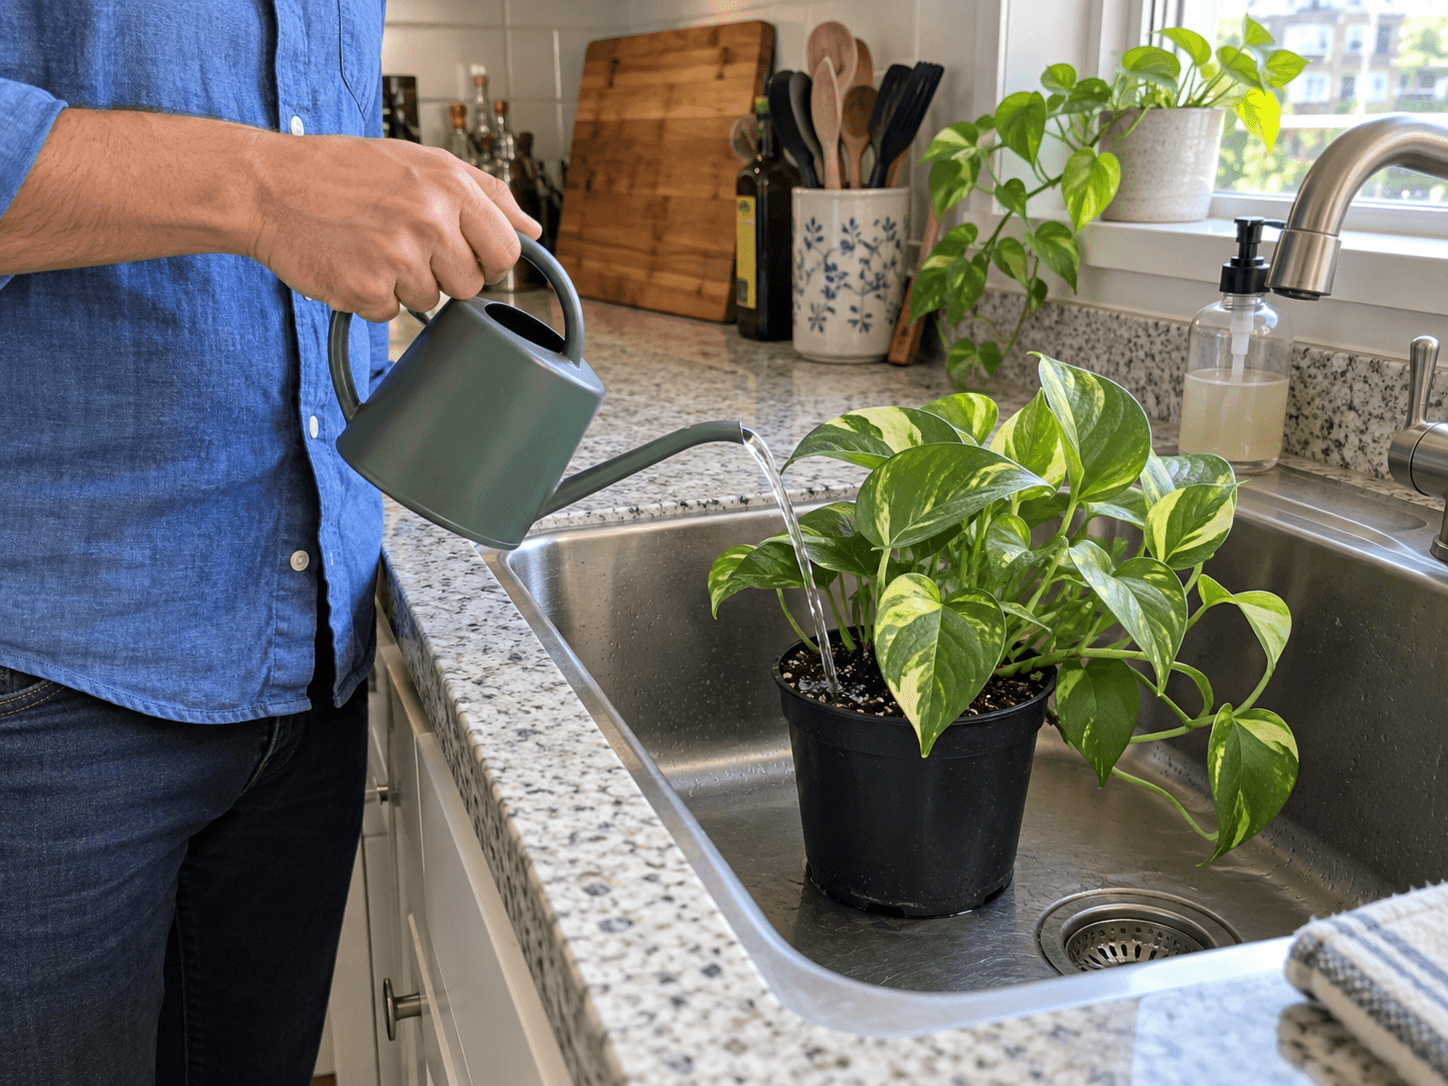
For most leafy houseplants, water to settle the mix and let the pot drain, then return to species-appropriate moisture checks. Succulents, orchids and plants with damaged roots may need a different handling sequence. Keep the plant out of sudden strong sun while it settles and avoid an immediate heavy feed.
The new setup may dry at a different speed. Record the repot date, pot size and mix, then check the actual moisture. Do not assume the old interval still applies. Some temporary adjustment is possible, but continued collapse, wet softness or worsening leaf loss deserves investigation.
Find a related guide below.
Back to the beginningSources & notes
Care guidance checked against these horticultural references on 20 October 2026.
- University of Maryland Extension: Potting and repottingRoot-ball placement, aeration and why not to add gravel.
- NC State Extension: Plants grown in containersContainer materials, potting media, nutrition and indoor care.
- University of Maryland Extension: Diagnose indoor plant problemsOverlapping causes of wilt, yellowing, poor growth and root damage.
- Iowa State University Extension: How to care for houseplantsRewetting dry media, ordinary water sources and indoor care decisions.